dhk79
Well-known member
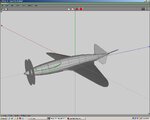
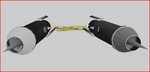
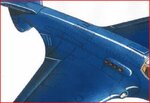
This is very quick & dirty. I modeled the basic fuselage shape accurately, but only added rough wings and stabs (without control surfaces). The purpose was to get just what was absolutely needed by RF to check out the physics.
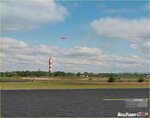
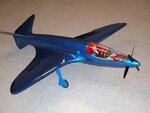
I know this is a bit backwards from the way things are normally done, but I wanted to play with the design concept. Bottom line is it's workable. I used twin AXI 4120-18 motors, with 4200x6S LiPos, and co-axial 13.5" pattern props. 1/5 scale gives a wingspan of 5.4 ft. and a flying weight of 6.4 lbs. Straight & level, I got scale speeds of about 375 mph. I should be able to get some more out of it with a little tweaking, but over-all she handles pretty well.
For the first time RF had the exact wing section I needed for a custom plane. This is a banner day.
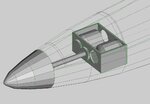
Back to the 3D editor to add details to the fuselage and finish the rest of the model correctly.
I know this is a bit backwards from the way things are normally done, but I wanted to play with the design concept. Bottom line is it's workable. I used twin AXI 4120-18 motors, with 4200x6S LiPos, and co-axial 13.5" pattern props. 1/5 scale gives a wingspan of 5.4 ft. and a flying weight of 6.4 lbs. Straight & level, I got scale speeds of about 375 mph. I should be able to get some more out of it with a little tweaking, but over-all she handles pretty well.
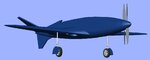
For the first time RF had the exact wing section I needed for a custom plane.
This is a banner day.Back to the 3D editor to add details to the fuselage and finish the rest of the model correctly.