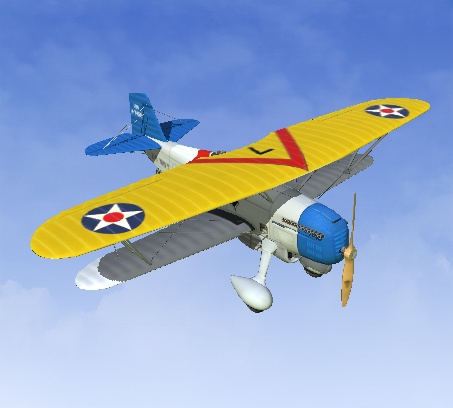
50% Dauntless Dive-bomber
Here is my Half-Scale version the Dauntless Dive-bomber set up for RF 7.5.
Another (early) Warbird for my Half-Scale South Pacific airfield...slow and heavy, she lands best with flaps down…takes a while to bleed off airspeed, carrier approaches require patient practice or you will run off the end of the deck! There is some wheel-brake at full up elevator, careful not to dig the prop….
There is a lot else “going on” with this bird, so please note the following switch assignments…
Flaps and Air Brakes are on the 3-position #8 switch…
Middle position = “neither”,
Down = Flaps only.
Up = Airbrakes only.
This is “correct” as they did NOT use flaps while dive-bombing...it creates a lift/drag asymmetry problem (three ”brakes” across the bottom, only two across the top) causing a wobbly hard to control dive…not good!
Bomb Release and Wing Fold are on #5…
Instant Bomb release happens when toggled towards you, the wings will begin to fold 8 seconds later…
Drop the bomb then re-set the switch, you can fold the wings after landing without ordnance.
Pilot and Gunner Cams pivot with the scroll knob, use F-4 and F-5 access them.
There is also a “Bomb Cam” on F-6 if you want to see it go right down the stack !
Gear as usual is on #7, down is down.
Rear guns T&E (Traverse and Elevation) move with elevator and aileron inputs
Wish there were more switches available, but this is the best compromise I could come up with to fly a “mission” without slaving the flaps to the gear (gotta have the camera scroll/pan to line up on the carrier!)
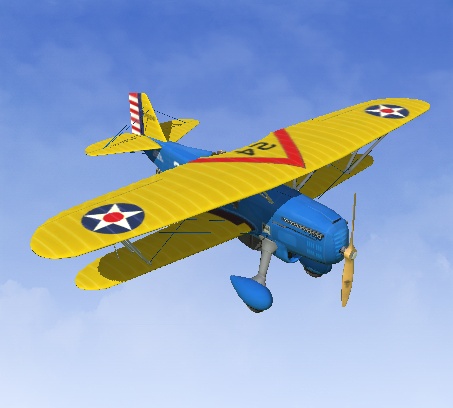
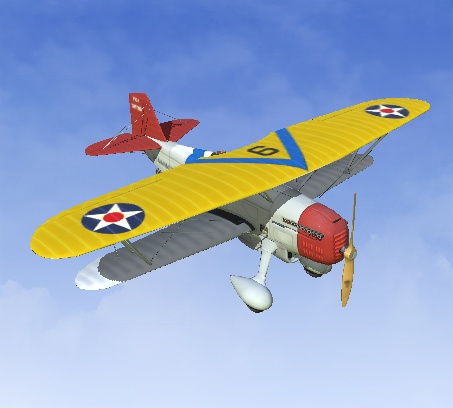
She can be a handful, so have fun and look for NEW COLORSCHEMES coming soon….
Early Marine Corps, battle of the Coral Sea and Midway versions are in the works
Credits from the Original EA:
3D Model: Phrank
Texture Map and Pivot Points: Phrank
Physics: Cowboy
Colorscheme Junkboy999
Here is my Half-Scale version the Dauntless Dive-bomber set up for RF 7.5.
Another (early) Warbird for my Half-Scale South Pacific airfield...slow and heavy, she lands best with flaps down…takes a while to bleed off airspeed, carrier approaches require patient practice or you will run off the end of the deck! There is some wheel-brake at full up elevator, careful not to dig the prop….
There is a lot else “going on” with this bird, so please note the following switch assignments…
Flaps and Air Brakes are on the 3-position #8 switch…
Middle position = “neither”,
Down = Flaps only.
Up = Airbrakes only.
This is “correct” as they did NOT use flaps while dive-bombing...it creates a lift/drag asymmetry problem (three ”brakes” across the bottom, only two across the top) causing a wobbly hard to control dive…not good!
Bomb Release and Wing Fold are on #5…
Instant Bomb release happens when toggled towards you, the wings will begin to fold 8 seconds later…
Drop the bomb then re-set the switch, you can fold the wings after landing without ordnance.
Pilot and Gunner Cams pivot with the scroll knob, use F-4 and F-5 access them.
There is also a “Bomb Cam” on F-6 if you want to see it go right down the stack !
Gear as usual is on #7, down is down.
Rear guns T&E (Traverse and Elevation) move with elevator and aileron inputs
Wish there were more switches available, but this is the best compromise I could come up with to fly a “mission” without slaving the flaps to the gear (gotta have the camera scroll/pan to line up on the carrier!)
She can be a handful, so have fun and look for NEW COLORSCHEMES coming soon….
Early Marine Corps, battle of the Coral Sea and Midway versions are in the works
Credits from the Original EA:
3D Model: Phrank
Texture Map and Pivot Points: Phrank
Physics: Cowboy
Colorscheme Junkboy999