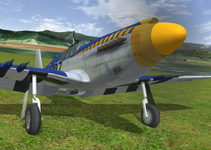
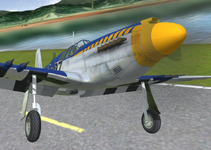
Fairchild PT-19

Oh, okay. Thanks!

But I'd also have to deal with the scissors. I completely forgot you did that, but now since you mention it I remember you doing it. And even a post you made about it to @asj5547 I think. But I'm just a simple modeler so I'm going to stick with the standard way the RF guys do it. But thanks a lot for sharing how it's done again. My planes just aren't as cool as your's. :)
fair they are not simple. however they are not scissoring they are rotating only like 1-2 degrees so the angle change is not noticable but travel is clearly visable.
 
fair they are not simple. however they are not scissoring they are rotating only like 1-2 degrees so the angle change is not noticable but travel is clearly visable.
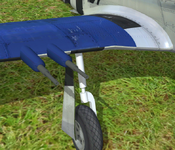
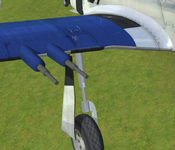
Yeah I seen how far away the pivot point was. But the scissor I'm talking about is the torque scissor on my gear. Your gear is straight but mine has the torque scissors that would move too. I guess you could fix that with how you made the "spring" for the way you did your gear. You definitely did a cool thing.
 
Yeah I seen how far away the pivot point was. But the scissor I'm talking about is the torque scissor on my gear. Your gear is straight but mine has the torque scissors that would move too. I guess you could fix that with how you made the "spring" for the way you did your gear. You definitely did a cool thing.

I did not make them because I know animating the would be very difficult. I have figured out a way to make it work. the first plane to use it will be the 707
 
I did the first pass of the brake plate over a few times in a temporary file so I went back this morning and updated the real file with the finished brake plate. Now I need to go back and map the brake plate and update the color scheme. So my temporary work cost me a little time.
 
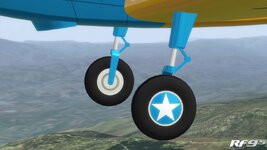
I decided to add one more hubcap. I really like the full blue hubcap you seen in my posts but the star is popular too so I'm going to create another hubcap so you can pick from two different ones using the engine to show setting in the physics. This will be the second one. So one full blue and one with a blue/white star.

24240 sm.jpg
 
I duplicated the hubcaps and parented them to a different engine type (2STROKE). So now I have hubcaps for 4STROKE and 2STROKE. I haven't mapped them yet these days my work cycle is short, so I don't get that much done. But it will be cool having two hubcap types to pick from. I do wonder if many people actually use something like this. It seems not that many people know much about the RF editor.
 
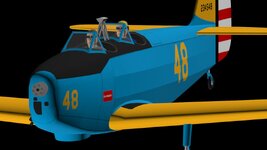
I decided to test something tonight. When I created the fuselage I tried to align the segments on the side so I could set a separate smoothing group for each segment to give the side of the fuselage that plank look it has. But when I got ready to map the fuselage I forgot to check the segment placement so they were a little off. I also forgot to cut the fuselage to align where the plank look stopped at the end of the front windscreen. So I needed to reposition the segments and add a vertical cut at the back of the front windscreen. Here's a picture of a test I did on a temp file to see if I could get it to look decent. This is one of those, I have it the best I can get it, so let me know if it looks good enough to keep.

If I keep it I'll need to rework the fuselage again on the main file and then remap the fuselage because of moving some segments and making the vertical cut to align where the plank look stops.

Fairchild PT-19 54.jpg
 
I decided to test something tonight. When I created the fuselage I tried to align the segments on the side so I could set a separate smoothing group for each segment to give the side of the fuselage that plank look it has. But when I got ready to map the fuselage I forgot to check the segment placement so they were a little off. I also forgot to cut the fuselage to align where the plank look stopped at the end of the front windscreen. So I needed to reposition the segments and add a vertical cut at the back of the front windscreen. Here's a picture of a test I did on a temp file to see if I could get it to look decent. This is one of those, I have it the best I can get it, so let me know if it looks good enough to keep.

If I keep it I'll need to rework the fuselage again on the main file and then remap the fuselage because of moving some segments and making the vertical cut to align where the plank look stops.

View attachment 140815
Keep it.
 
WELL... Last night when I tested using a different smoothing group for each side segment it looked pretty good in the 3d editor. But this morning I imported it in RealFlight and didn't like it. To me the side segments were too flat looking and didn't seem natural. So I think I better stick to what I have and move on to the physics.
 
For some reason I can't get going on the physics. I thought of something I want to do to the color scheme so I'll probably do that before I work on the physics. The physics really isn't hard I just don't care for doing it. It's kind of like working on the mapping, boring. I'm talking about setting all the part sizes and weights, just dull boring work. If I put it off long enough maybe @asj5547 will do it for me.
 
Back
Top